by Sam Tackeff | Nov 26, 2014 | Baking, Condiments, Ingredients, Quick and Easy
I started preparing for winter this week. A puffy vest for was acquired, which I will now live in, and a new coat – an extra layer that I know I’ll be needing. Somehow, I’m never fully prepared for the weather.
I’ve been trying to make my way through several books that need to be finished before I can read new ones – Thrive by Ariana Huffington, I Am Malala, and a handful of others. I started Jo Nesbø’s The Bat but it wasn’t what I expected it to be. Fortunately it’s short, so I’m powering my way through it.

These leaves are now covered by a good layer of ice and sludge that have been accumulating today – what a difference a few days can make. I’m trying to prepare myself for a world of ice and salt and knocking the snow off of my car.


The leaves were stunning this week. Hanging on. Visually, this is my favorite time of year. Emotionally, it’s a little bit of a roller coaster – bracing myself for the long cold winter. I’ve been trying to do a little more to prepare this year: getting someone to help us with a deep cleaning of the house, acquiring new heaters so that we don’t freeze when our old steam heat fails us. A few months ago I won a new blanket, massage gift certificate, and a light alarm from the Tart Cherry Marketing board, and they’ve been particularly useful this week! (Always enter contests if you like the prizes!)


Somehow there is new growth.


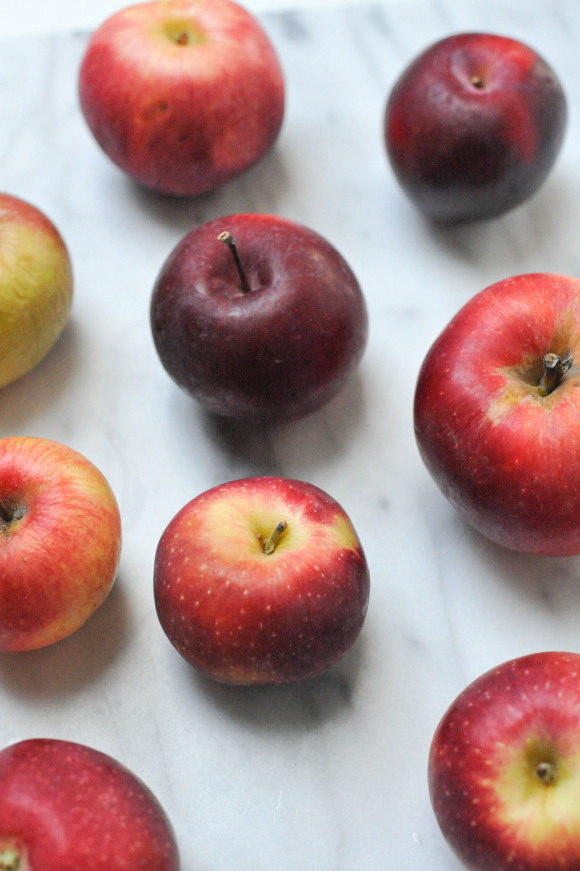
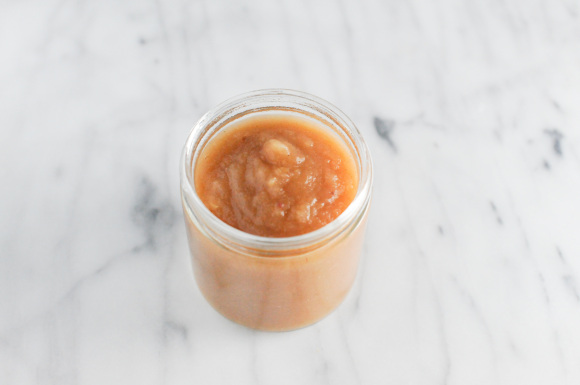
And apples. Which of course I use to make applesauce when I can. It’s such a comforting food.
Applesauce, many thoughts.
Applesauce. It’s one of those things that takes no time at all – a half hour maybe? Makes your house immediately smell like the holidays, and provides you with comforting sustenance. It’s the most beautifully simple thing to make. You really only need apples and a little water, and you can make something perfectly good.
When I set about making applesauce, I usually make a small batch – 5 or 6 apples. You can make a huge batch, but I like to cook in a small pot, and change up my spice mixes. This allows you to make this recipe many times in order to try out what you like and what you don’t.
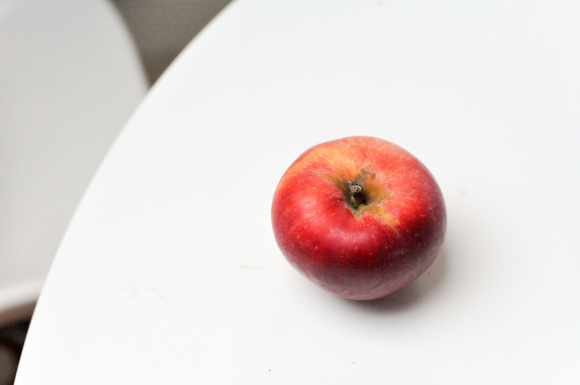
I like to use a blend of apples. I like my apples on the tart side. My favorite as a child was always the McIntosh. This batch had a few Empire apples, a few Macoun.
I take apples, and I peel them. I cut out the cores, and slice them. Sometimes I leave a little peel here and there, you don’t need to be perfect. You also don’t need to peel them. If you leave the peels on, your applesauce will become rosy.
You’ll want an acidic component – this can help the apples from browning, and also will provide the flavor with some snap. I’ll sprinkle my apples with the juice of a lemon. (But I don’t always remember, and it turns out okay without, too.)
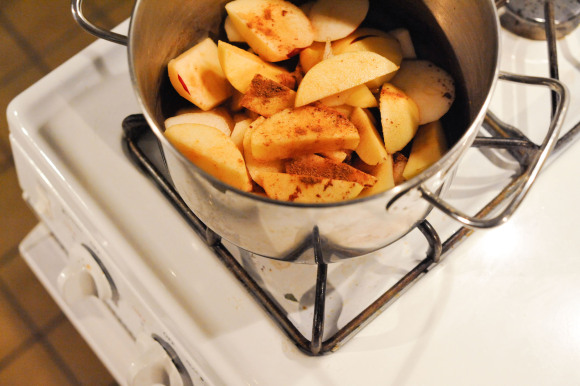
In a heavy bottomed pot (you don’t want anything to burn), put your sliced apples. If you want a sweeter applesauce, you can put in some brown sugar, maple syrup, maple sugar. Just a few spoonfuls, don’t go overboard. If you are adding sweetener, I also like to add a pinch of salt.
Here I’ll choose my spices – if you don’t have many choices, go for cinnamon. You can put a little – maybe a teaspoon, to a few tablespoons, for a deeply spiced sauce. Sometimes I do a tablespoon of pumpkin pie spice. Chai spices are good, too.
You’ll want a liquid to get things started. A cup or so of cider, apple juice, or water. You could also do wine! For this batch I did 3/4 cup of water, and about a quarter cup of honey mead!
Cook the apple liquid over medium heat, covered, making sure to stir every so often to let the apples soften. You can let it cook for longer, but make sure to turn the heat down to low. When I’m in a hurry, I’ll cook it for 30 minutes.
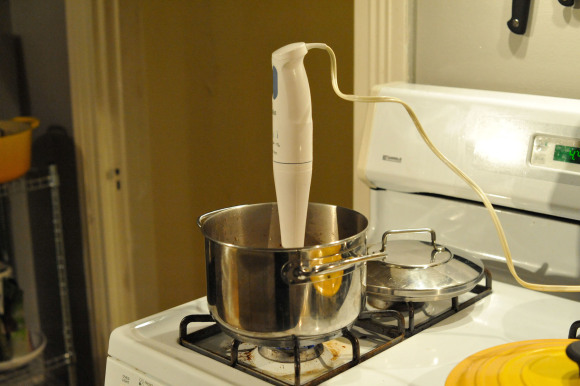
When the apples are cooked through and tender, mash with a fork for a chunky texture, or purée with an immersion blender for that smoother sauce.
Eat it warm, or cold. Store in the fridge, or in the freezer to preserve the bounty for longer. (Of course you can put it up, too, but I like doing that with a larger batch.)
Applesauce (the short recipe)
3 pounds assorted apples, peeled, cored, and slice
1/2 cup of liquid: apple juice, apple cider, water, or a combination
1/4 cup honey mead (totally optional)
2-3 tablespoons maple syrup (or brown sugar)
2-3 teaspoons mixed spices (cinnamon, allspice, pumpkin pie spice, nutmeg)
Combine all the ingredients in a heavy bottomed bot, and cook on medium heat, covered, stirring every so often for 30 – 60 minutes until apples are soft. Mash with a fork, or puree with an immersion blender.
by Sam Tackeff | Nov 6, 2013 | Condiments, Eggs, Ingredients, Uncategorized

A friend in the gym today mentioned that her mayonnaise was breaking, and I felt for her. Truly, there’s nothing like a sauce that refuses to do what you want it to – which is almost always emulsify. I suspected that the Vitamix was the culprit here, so I mentioned my tried and true mayonnaise tool: the whir-whir! (That’s how I refer to my immersion blender. I’m fun like that.)
Here’s my usual recipe. It’s based on a dozen or more ideas for mayo that I’ve read here and there: Alice Waters, Tamar Adler, even J.Kenji Lopez-Alt, Patience Grey… everyone has a basic recipe. It’s a little un-traditional with that whole egg (read: lazy.)
Mayonnaise: It’s Easier Than You Think
When you go to your fridge and you are out of Mayonnaise, fret not. Take the little cup that comes with the immersion blender. Into it, crack a whole egg, preferably very fresh and from a reputable source, and at room temperature (having the oil and the egg at the same temperature helps promote emulsion). You aren’t cooking the egg, and a farm egg tastes so much better. Add a large spoonful of Dijon, a teaspoonful of vinegar, and lemon juice – about a half lemon’s worth. I always like Sherry vinegar, but you could use cider vinegar here, or rice wine vinegar, or maybe red wine vinegar. You could be minimal here – just the mustard and lemon juice, but I like the mix of acidity. And then you pour in your oil – between 3/4 and a cup. I try to use a fairly neutral oil. You could use half olive oil if you’d like, but full olive oil tastes incredibly olive-y and limits what you can actually do with this stuff. Here is the fun part. Stick the immersion blender in and whirr. Within about 20 seconds your mayo will come together. Usually I have to stir a little bit to get it going, but I’ll just blitz until I get to a good consistency, which for me, is slightly less firm than the store-bought stuff.
Optional twists: you could add a few cloves of finely minced or crushed garlic in here and it becomes an “aioli” of sorts. Or, you could add a handful of fresh herbs, or any variety of spice to taste.


Now that you have this stuff on your hands, here are some ideas of what to do with it:
1. Slather it on sandwiches.
2. Put a little dollop on top of eggs.
3. Serve with boiled or braised meats.
4. Place a generous spoonful on a bowl of cooked vegetables.
5. Make a raw vegetable salad with it. I like this recipe for “Coronation Cauliflower“, a raw cauliflower salad.
6. Make some home made coleslaw.
7. Slather it on grilled chicken.
8. Make seafood salad with crab, avocado, and a squeeze of lemon.
Or eat with a spoon, by itself, every time you open the fridge. Don’t be ashamed.
by Sam Tackeff | Apr 8, 2013 | Condiments, Pantry Staples, Quick and Easy

A few years ago, after working on Karen Solomon‘s book ‘Can It, Bottle It, Smoke It‘, I became a home made condiment convert. The secret about condiments is that they usually have no more than a handful of ingredients and come together in a television commercial break. Which doesn’t matter any more because of the miracle of the DVR – but believe me in high school and college, many foods were deemed suitable or not based on how much prep I could do during a two minute interlude while watching Buffy or ER.
I’m not saying that everyone should be making their own coconut milk or marshmallows (although, frankly both are doable and fairly easy). But nut butters, ketchups, and all sorts of sauces are my favorite things to cook, and turn out so much better than the packaged variety. And yet… I still am tempted to pick these things up and put them in my basket at the store – because those are the things you never want to run out of. To remedy this, I put together a little condiment calendar, of special things I wanted to try to make at home. My goal is to make a useful condiment in bulk at least once a month. For a while it was once a week, but I like making achievable goals and then outdoing myself.
So nut butters. From start to finish, no more than 10 minutes, and you have glorious, fresh nut butter, which you can flavor however you’d like.
Truthfully, it had been a while since my last nut butter batch. And then I joined a gym challenge where pre-packaged nut butters, nut milks, and any sort of additives were verboten. We were however allowed both nuts and coconut oil, and our kitchen – so this week I whipped up a batch of cashew butter with coconut and cinnamon. (I was tempted to make my own fresh coconut milk for curries, but I thought that would be pushing it with the rules and the spirit of things.) I’m actually better at portioning out nut butter than I am nuts – I know that 2 tablespoons of nutter butter is a serving and not to go over – but three and you are pushing that. Give me a handful of whole nuts, and I’ll go back for handful after handful, until I’ve eaten the entire bag.

So cashew butter. I like cashews because they are creamy and naturally sweet, and make a great unsweetened paste. You can make your own nut butter of any type – almonds, pecans, pistachios and hazelnuts all are great. You can use walnuts, although I find walnuts to be slightly bitter for my taste.
Usually I pick up these raw cashew pieces from Trader Joe’s. They are cheaper than the whole cashews, and come in a convenient 8 oz. package, which is more than enough for a batch for one person.
You usually need a little bit of fat to blend the nut butter – I like melted coconut oil because it gives it a hint of coconut taste, without tasting overtly coconut-ty. If I were making a savory nut butter (have you had one before? It’s interesting!), I might use olive oil. With cashews I like adding a little bit of vanilla, cinnamon, and salt. But you can also add cocoa powder, and make your own Nutella – if you want to get fancy, add a little bit of chile powder.
Another seasoning trick is to find a good recipe for spiced nuts – you know, the kind your grandmother used to serve with cocktails – and then just blend them into a nut butter.

For this batch I kept it simple.
Into my baby Cuisinart Mini-Prep (on sale at Amazon for 47% off) – this thing is a workhorse, and perfect for a small household. And you can dish wash!
Blend, blend, blend.


Homemade Cashew Butter
This nut butter is best made with raw cashews, which you can purchase at Trader Joe’s for an affordable price. I typically make a small amount – about a cups’ worth – primarily to avoid eating several cups worth of nut butter in a single week. The recipe is easily double-able, and I’d actually recommend doubling if you are using a larger food processor, as the small amount won’t blend as well.
8 oz. raw cashews (225 grams)
1/4 cup coconut oil, melted
1/2 teaspoon cinnamon
1/2 teaspoon vanilla extract
a pinch of salt
In the bowl of a small food processor, place the cashews, cinnamon, vanilla and salt, and pour over the melted coconut oil. Pulse to get the mixture started, scraping down the sides with spatula. You want to get the nut butter going, and then grind for a minute or two at a time, until a smooth paste is formed. I usually do a minute on, scrape the sides, another minute, scrape, a third minute – you can do it for a few extra minutes if you want a very smooth paste, but I like mine a little bit chunky. It also helps to give your processor 30 seconds of rest if the motor is overworked.
You can store this in the fridge for a few weeks but it’ll firm up. I’m okay leaving it out on a cool countertop for a few days – which is as long as it’ll last in the house.
Makes about 1 1/4 cups.